Vista Ocean NEXT DISPATCH FROM 03/04/25
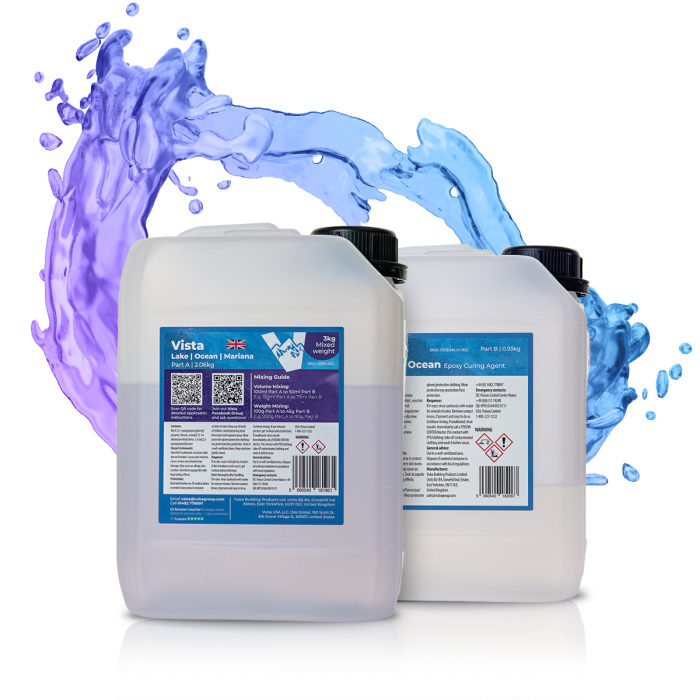
 2 to 1 Epoxy Art Resin supplied in 3kg, 7.5kg kits with 2 parts A and 1 part B
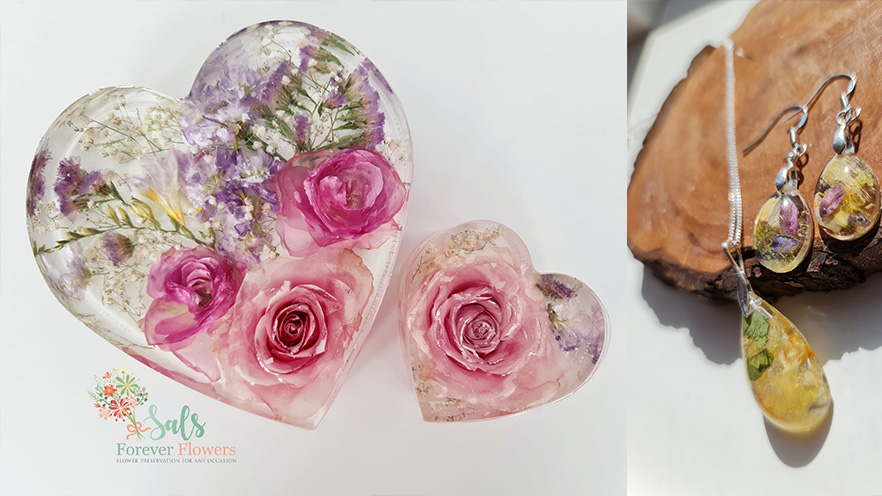
 Perfect for making small size furniture pieces, casting of decorative objects and flower encapsulations in pours of 45mm-75mm
 Crystal Clear, UV Stable, Heat Resistant up to 90oC and Manufactured in the UK
 Low Odour, No VOC's, Solvent Free and Non-Flammable
PEOPLE ARE CURRENTLY VIEWING THIS PRODUCT
Product Information
Vista Ocean is a 2 to 1 clear epoxy, formulated for applications between 40mm and 75mm depth. Ocean is a low viscosity (thickness) epoxy which means it benefits from de-gassing excellently and gives a bubble free finish even when applied up to 50mm.
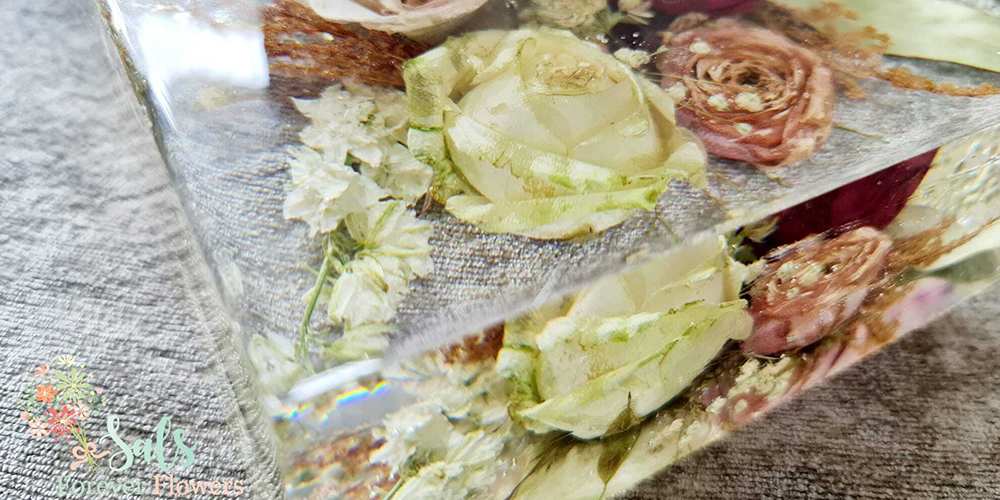
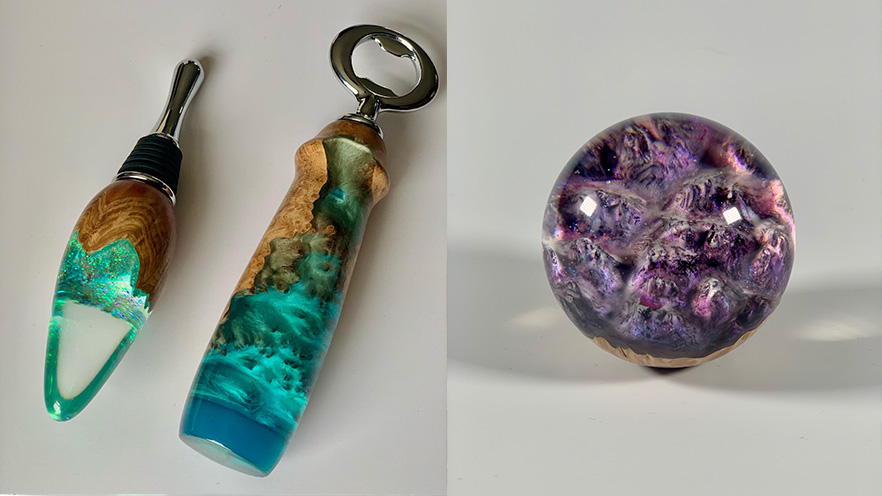
This product is very popular for flower encapsulations, small chopping river boards and other small encapsulations such as spheres which are turned on a lathe. Although this can be poured to a relatively high depth this is only when using a low volume of Resin. For example if you had a small River coffee table and the pour was 75mm deep, the widest point in the river couldn’t exceed 75mm.
Large mass projects such as River Tables, regardless if the pour is done between 40-75mm this product wouldn’t be suitable and most definitely over-heat. You are most definitely better suited to our Vista Mariana.
It is important with any product for you to trial the resin before application on to the project. Not all art resins behave the same. After trialling, you might realise that a different product within the range is more suitable, or that the techniques implemented with alternative resins may have to be adjusted for this particular product.
Epoxies cure from a heat reaction. The thinner the application the slower the reaction because the epoxy is unable to generate as much heat in a lower mass. So for thin applications like coasters it is important to use a fast-curing resin like Turbo or Cascade that generates heat even at a low depth. Going under the recommended depth of 40mm can often result in the product being susceptible to Amine Blush and Amine Bloom (surface defects). This is due to the prolonged curing time. For more information on this and what else can cause these unwanted surface defects, check out our blog post

Resources
Usage Guidance
Mixing Ratio
Ocean is a 2:1 mixing ratio by volume, which means for every 100ml of Part A, you need 50ml of Part B. For example:
200ml Part A : 100ml Part B
When measuring on the scales by grams the ratio to follow is slightly different. For every 100g of Part A, you need 45g of Part B. For example
200g Part A: 90g Part B
Go over to our Vista Resin Calculator which will do all the working out for you.
Mixing Technique
After measuring out the Resin and Hardener it’s now time to mix the two together. At least 3 minutes is required for mixing and it is good practice to transfer into a second cup for some further mixing. This way you can ensure there is no residual hardener unmixed which might be poured into your piece and cause a defect.
When all lines and imperfections have been removed you can be assured the epoxy is completely mixed. You can over mix and also mix too quickly causing excessive amounts of air to be introduced during this process. This can cause unwanted bubbles to form so be cautious of this.
The second the two components are mixed together a chemical reaction will begin. Often users decide that they will leave the mixed Resin into the cup for some time afterwards which creates a thicker Resin. When making a piece with several colours this can help to stabilise the colours and stop them from separating into each other. Again be careful and consider how much Resin is within the cup because this is within a small surface area meaning heat can not escape and the reaction will begin to increase rapidly. If left too long, you can lose workability with the Resin mixture all together often experiencing bubbling, excessive heat, distortion and even a flash cure!
For more information check out our blog post about how epoxy resins cure!
Curing Time
The curing time is dependent upon Total Heat. Total Heat = Heat of Reaction + Ambient Temperature. The Heat of Reaction is dependent upon the overall depth or mass of epoxy + curing properties of the Part B component.
Although Ocean is designed to be poured up to 75mm when a large mass is used the Resin mix will overheat rapidly. We recommend mixing small quantities to reduce the chances of this and trailing this product before your main pour.
The temperature of the room you are working/leaving your pieces to cure in does have a surprisingly big impact on the curing time. It isn’t a straight line between heat and cure time, so as the temperature rises the pot life and cure time increases exponentially. And similarly, for a drop in temperatures the cure time will lengthen exponentially.
Adding heat in the form of a propagator, heat mat or other source of heat, you can expect curing times to reduce by up to 75% if you are concerned about cold temperatures. Typically Ocean is used with the guideline parameters of 40-75mm, you can expect to de-mould in less than 48 hour.
Working in Layers
To achieve greater depths Vista Ocean is suitable for layering and is a very versatile product in the Vista range. Throughout the curing process of your first layer the epoxy mixture passes into an initial cure phase when it begins to gel off. The epoxy is no longer workable and will progress from a tacky, gel consistency to the firmness of hard rubber, which you will dent with your thumbnail.
Because the epoxy mixture is only partially cured, a new application of epoxy will still chemically link with it. It is at this stage you can successfully apply a second layer / pour / coating to an existing resin and create a monolithic bond. The next layer will be able to join without visible lines. Should the casting resin be allowed to reach full cure, we would recommend to mechanically prepare the surface of the bottom layer by sanding and then chemically clean using isopropyl alcohol.
Using with Pigments
When using our Vista Epoxy Pigments you can easily introduce some fantastic colours. And because the colour is already diluted into resin, the mixing process is quick and easy.
To create a translucent colour, simply add a small amount of colour and look by eye to ensure that the mixture is not going to turn opaque. For a full colour, it will depend on the depth of your application. A full colour at a significant depth is capable of being achieved with a small amount of pigment. For a very thin coating, you will need much more colour to ensure a fully opaque Resin mixture.
We would recommend a trial and sample to get the right amount of colour saturation for your project. Each pigment is coloured naturally, and so you will find that a lot more pigment is needed for colours like orange than it is for black for example. For each colour you can trial and error until you know what to add by eye.
We know from experience it doesn’t take long to get used to the colours and they’re very easy to use.
As well as standard solid colours, we also have metallic colours – Metallic White, Metallic Bronze, Metallic Silver and Metallic Gold. In addition, we have a Metallic Boost which you can add to the solid colours to give them an injection of metallic. For a small change and hint of metallic, add around 25% to solid colour, for a strong metallic finish, we’d recommend to add up to 70%.
Videos
Let's see your handy work! Leave a review!
Please leave a review including photos! We love to hear from our customers, and see the fantastic projects they complete. You can also review us on Trust Pilot and Google! If you'd like your project to be seen by our staff or featured on our social media channels, please email in any images to keira@vistaresin.com.
Ask us a question
A number of our most common customer queries are covered in our FAQs section. However, if you still can’t find the answer you are looking for then simply fill out the form below and we will get back to you.


